
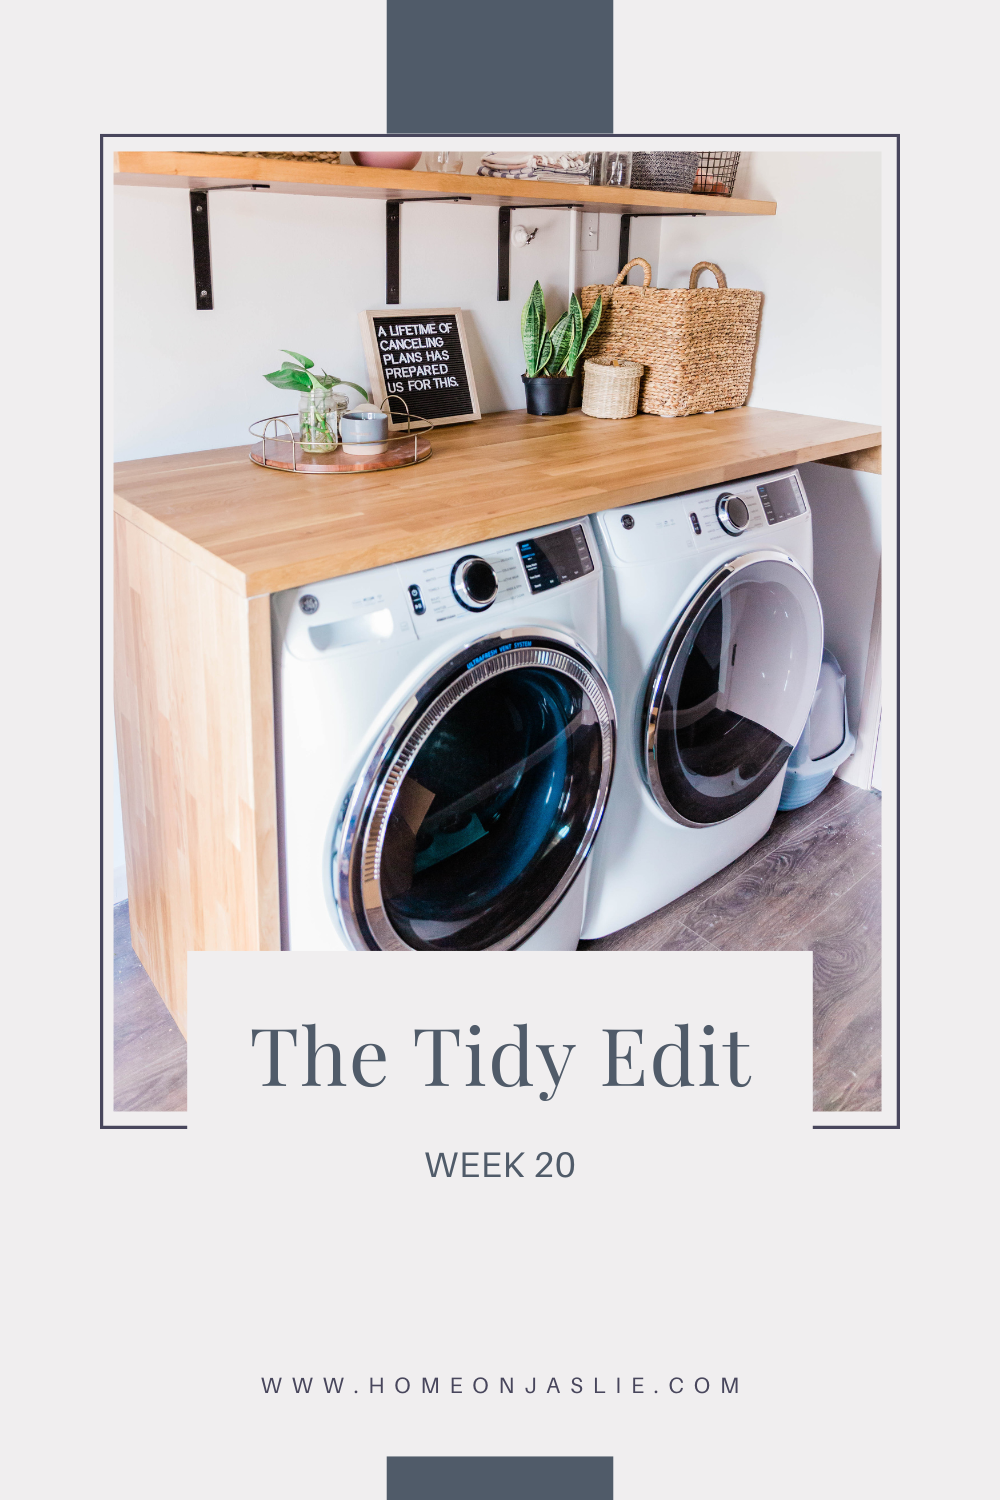
The Tidy Edit: Revisit Your Washer & Dryer Cleaning Routine
Give Your Laundry Appliances the Mid-Year Clean They Deserve
This post contains affiliate links, which means I may receive a commission. Read my disclosure policy here.
We recently upgraded our oldest to a twin bed and converted our youngest’s crib into a toddler bed with a side rail. It may have been a little early for the switch, but the toddler bed was starting to feel cramped for our oldest.
Since making those changes, we also moved the boys into a shared room. It’s been a bit of a blessing and a curse. Our youngest quickly decided he no longer wants anything to do with a crib. He wants a “big boy bed” just like his brother.
Now, he naps in the twin bed since his older brother no longer naps—and it’s the only way he’ll go down for rest. So here we are again, updating their shared room to make space for two twin beds. It’s not a major overhaul, but it does require rethinking the layout and moving the reading nook. (If you’re curious what I have planned, check out this post.)
While we wait for some of the new furniture to arrive, let’s shift gears to this week’s Home Care Challenge.
Washing Machine & Dryer Deep Clean (Again)
This week’s task is a repeat from Week 7—cleaning the washing machine and dryer.
Why do it again? Regular maintenance helps keep your clothes smelling fresh and your appliances running efficiently. Plus, cleaning the dryer can prevent lint buildup that could become a fire hazard.
Before getting started, make sure you have everything you need. I’ve listed some recommended supplies at the end of this post.
Let’s jump in.
Cleaning the Washing Machine
A clean washing machine is essential to prevent musty odors and ensure your clothes come out feeling truly clean. Here’s what to do:
1. Clean the Dispensers: Remove any detergent trays or dispensers and wash them with mild dish soap. Wipe out the inside of the dispenser compartment using a damp cloth.
2. Run a Tub Clean Cycle: Use a washing machine cleaner and run a tub clean or the longest, hottest cycle. After each wash going forward, keep the door open to help it dry completely.
Exterior and Front-Loader Maintenance
3. Wipe Down the Exterior: Use a damp cloth and all-purpose cleaner to wipe the top and control panel.
4. Clean the Filter and Rubber Seal (Front-Loaders): Most front-loading washers have a filter near the bottom corner.
Drain any remaining water into a bowl, then remove and clean the filter with mild soap and a brush.
Spray the rubber door gasket with vinegar and wipe clean. If mildew persists, consider calling a technician. Avoid using harsh chemicals on the rubber seal, which can break it down.
Cleaning the Clothes Dryer
Cleaning your dryer not only keeps it efficient but also reduces fire risk. Here’s how to do it:
1. Clean the Lint Screen: Remove the lint trap, vacuum or rinse it, and let it air dry completely.
2. Clean the Vent Duct: Unplug the machine or disconnect from gas. Remove the vent duct and clean it with a vacuum and dryer brush. Reattach it securely, checking for any kinks or major dents.
3. Wipe the Drum and Vacuum the Housing: Wipe down the inside of the dryer drum. Then use a narrow vacuum attachment to clean inside the lint trap housing.
Vacuum under and behind the machine while you're at it.
For a deeper clean, it’s a good idea to occasionally have your dryer serviced by a professional.
Keeping your machines clean helps them last longer and perform better. It’s not the most exciting task—but it’s one that pays off in the long run.
Happy cleaning!
Related Blogs


Before fall routines hit, give your washer + dryer a quick refresh.