The Tidy Edit: Breathe Easier with a Fresh Air Filter
How to Change Your Air Filter: Quick Home Care Tip
This post contains affiliate links, which means I may receive a commission. Read my disclosure policy here.
If you’ve been following along with The Tidy Edit (our 52-week home care series), then you know the drill by now: every three months, it’s time to swap out those air filters. Consider this your friendly nudge to get it done.
If you’re new here—welcome! This week’s task is simple, fast, and has a big payoff: changing your home’s air filters. It’s one of those tiny jobs that makes a surprisingly big difference in how your home feels (and how much you’re paying on your energy bill).
Why Air Filters Matter
We had our HVAC system serviced during our last check-in on this task, and I like to schedule that twice a year—once in the spring, once in the fall. It naturally lines up with the seasons when we switch from heat to AC (or the other way around). Think of it as a seasonal reset for your home’s airflow.
Here’s why it matters:
Clean air = healthier home. Filters trap dust, pet dander, allergens, and other not-so-fun stuff.
Dirty filters = higher bills. If airflow is blocked, your system works harder—and that means more $$ out of your pocket.
Protects your system. Replacing filters regularly helps your HVAC last longer (which saves you from a very expensive replacement down the line).
And if you have kids or pets like we do? You’ll notice those filters get dirty fast. It’s not glamorous, but knowing the air my boys are breathing is cleaner makes the five minutes totally worth it.
How to Change Your Air Filter
Never swapped one before? Don’t worry—it’s easier than you think. Here’s a quick step-by-step:
Find the filter. It’s usually behind a vent cover in your wall, ceiling, or inside your HVAC unit.
Check the size. Look at the side of your current filter—numbers like “16x20x1” will be printed right on it. Write it down (or snap a picture).
Remove the old filter. Slide it out carefully—warning: it might be dustier than you want to see.
Insert the new one. Follow the arrows on the filter frame—they show which way the air flows.
Close it up. That’s it. You’re done!
💡 Pro tip: Order a stack of filters online (or set up a subscription) so they show up at your door every few months. No excuses, no forgetting.
Choosing the Right Filter
Not all filters are created equal. Here’s the quick breakdown:
Budget-friendly filters: Fine if you’re in a pinch, but they don’t catch as much dust or allergens.
Mid-range filters: A good balance of cost and quality—these work for most families.
High-efficiency filters (HEPA/MERV 11+): Best if you’ve got allergies, pets, or just want cleaner air.
Reusable filters are also an option if you like a more eco-friendly route. Just remember they need regular washing to stay effective.
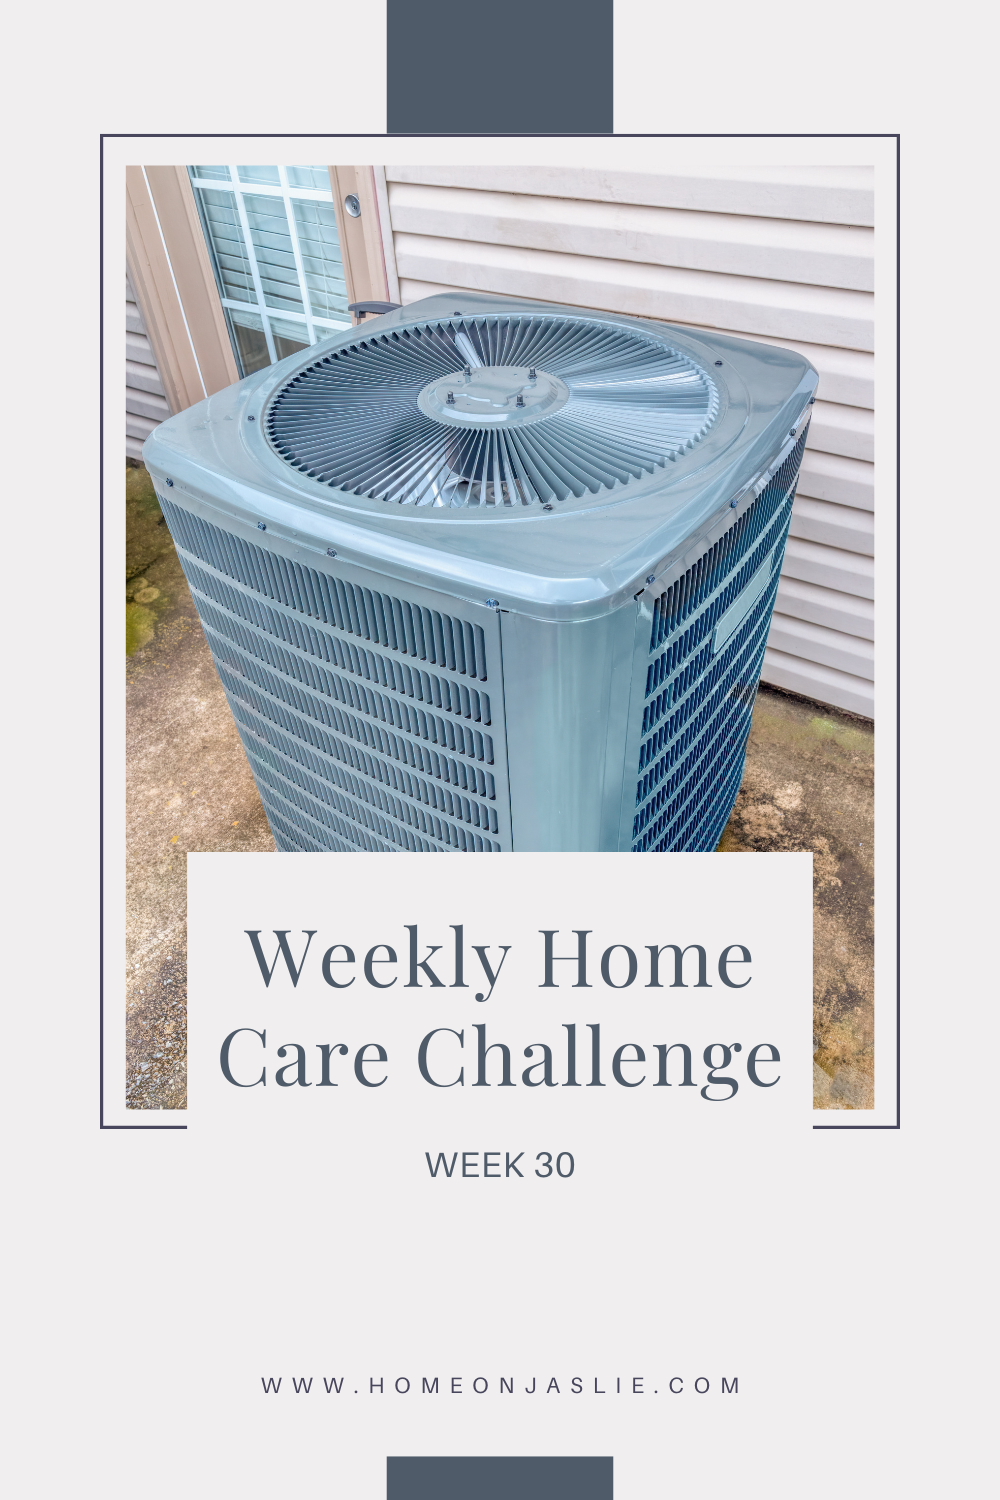
Don’t Forget the Outdoor Unit
While you’re at it, take two minutes to peek outside at your HVAC unit:
Clear away leaves, branches, and debris.
Trim back any shrubs or grass crowding it.
Make sure there’s at least two feet of space around it so it can “breathe.”
A little yard work here keeps your system from overheating and makes it run more efficiently.
A Quick Win with Big Payoff
This week’s task is one of the easiest you’ll check off all year, but it pays you back in cleaner air, lower bills, and fewer HVAC headaches later.
So grab a new filter, swap it out, and enjoy that five-minute fix. Your HVAC, your wallet, and your sinuses will all thank you.
Happy breathing! 🌬️
Shop
Products mentioned in the blog post:


Before fall routines hit, give your washer + dryer a quick refresh.